
Manage transactions
This article provides an overview of the Transactions table, detailing the types of information displayed, such as transaction IDs, statuses, actions, payment methods, and more. You’ll also learn how to customize the table view, apply filters to focus on specific data and download the table as a CSV for further analysis.
Transactions table
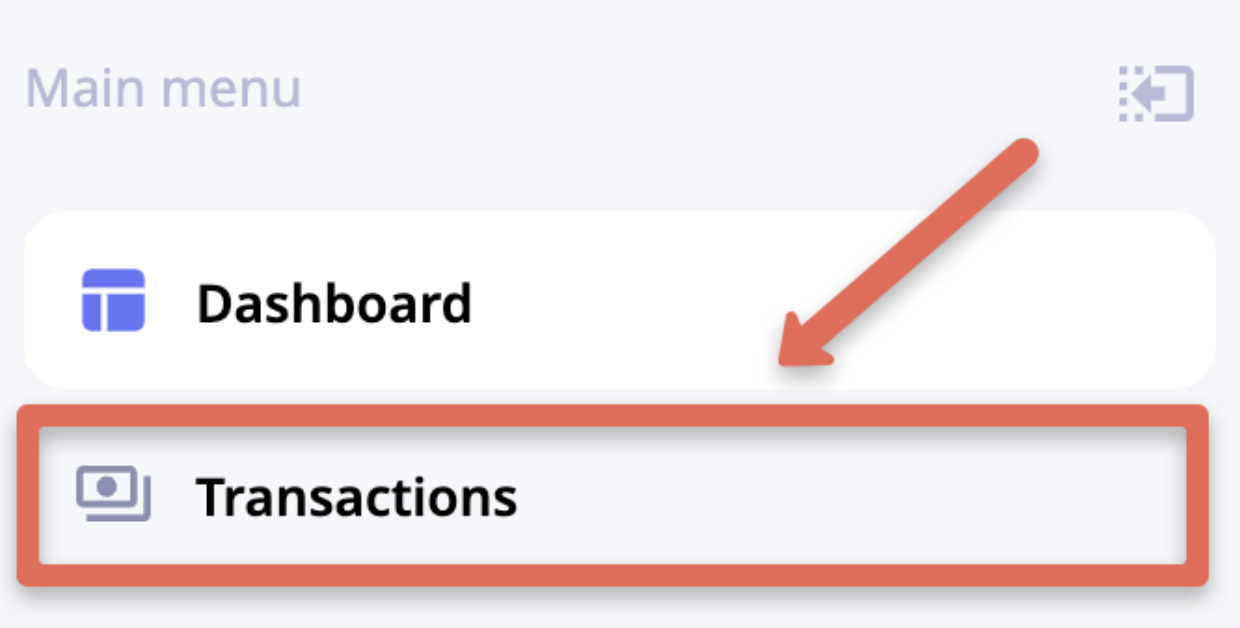
To open the Transactions table, click Transactions in the Main menu.
Manage view
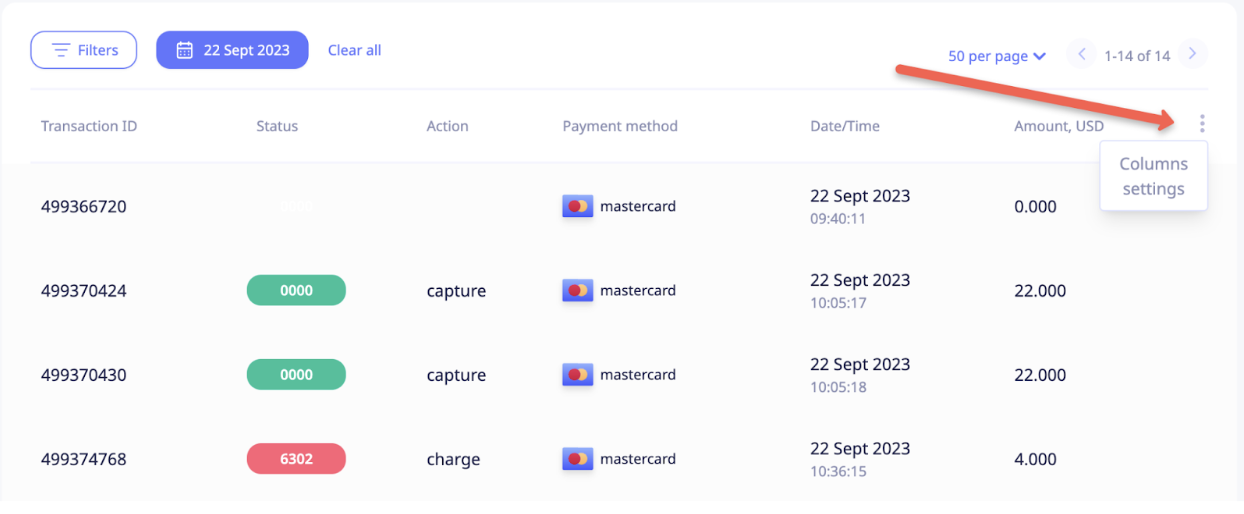
To customize columns that should be visible in the Transactions table, click Columns settings.
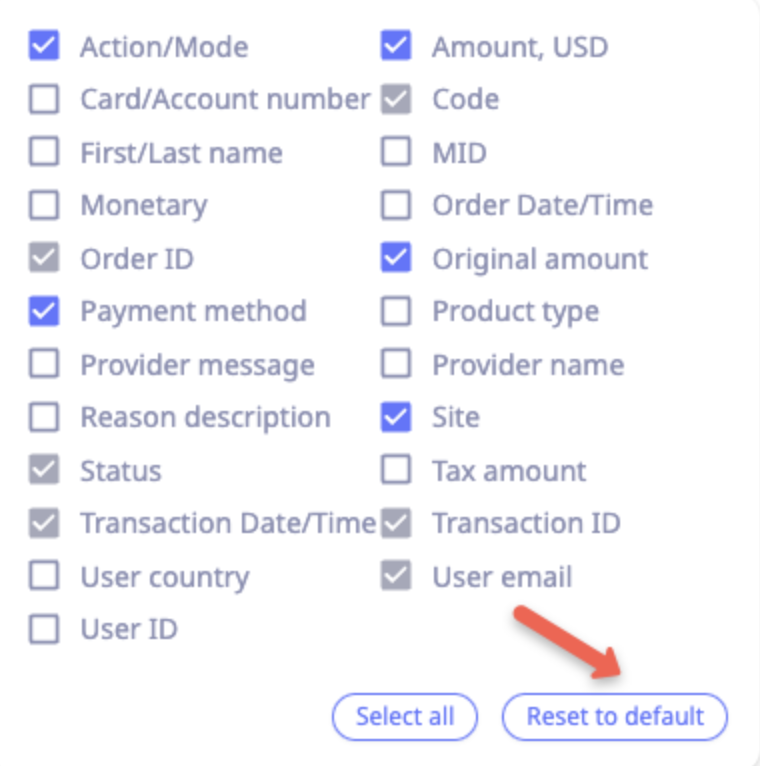
Custom set of columns - tick the desired columns. The system will remember this setting for all subsequent user logins from the same browser.
Select all - click to see all columns on the widget.
Reset to default - sets columns to default preset:
- Transaction ID
- Code
- Status
- Action/Mode
- Payment method
- Amount, USD
- Transaction Date/Time
- User email
- Original amount
- Site
- Order ID
Note that some columns are permanent and can't be hidden from the Transactions table, like:
- Transaction ID
- Status
- Code
- Transaction Date/Time
- User email
- Order ID
Column order
To arrange columns in a custom order, hover over the column name until the mouse pointer becomes a hand and then drag the column to a new position. The system will remember this setting for all subsequent user logins from the same browser.
Navigation
Transactions per page
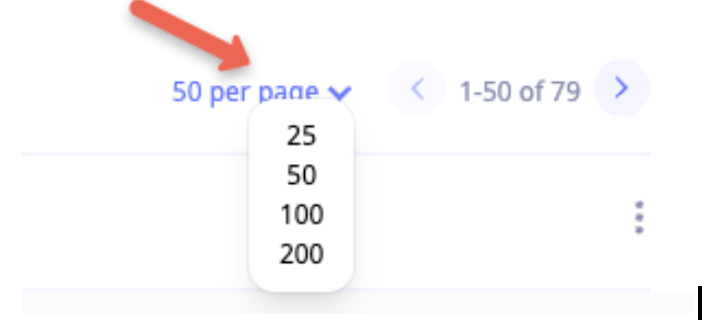
To set the number of rows per page in the Transactions table, click Per page in the top right corner of the table, as shown in the screenshot.
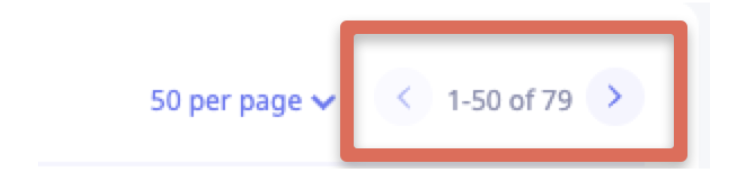
Pages navigation
To quickly navigate between pages, click the right or left Arrow in the top right corner of the table, as shown below:
To quickly switch to any desired page, scroll down and use the page navigation panel at the bottom of the table. Click the page number or type any page number and then click the Arrow or press Enter.

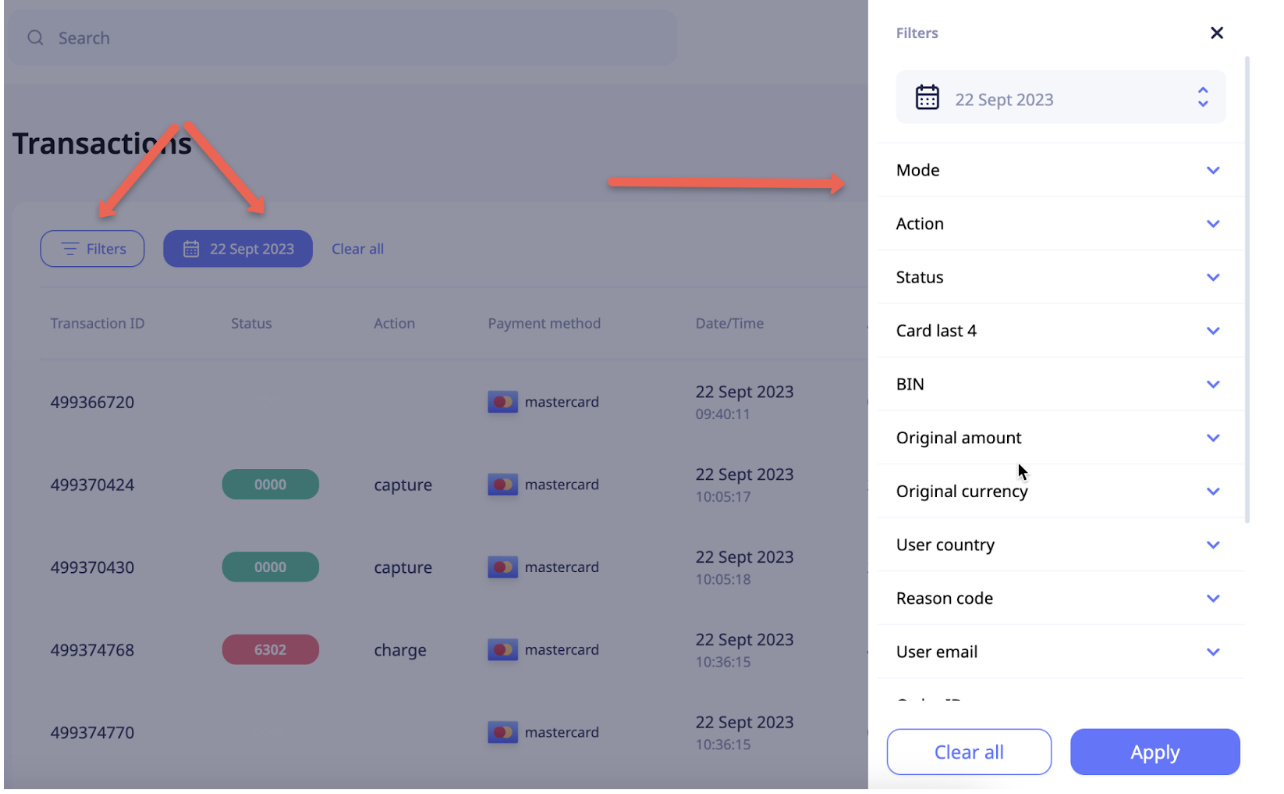
Apply filters
By default, the Transactions table is filtered by Today.
The Date filter is mandatory and cannot be cleared, though the date range can be adjusted to suit your needs.
To view and configure filters, click Filters or any already applied filter to open the Filters sidebar menu. Scroll through the sidebar menu to view all available filters. You can apply as many filters as needed simultaneously. To apply all selected filters, click Apply.
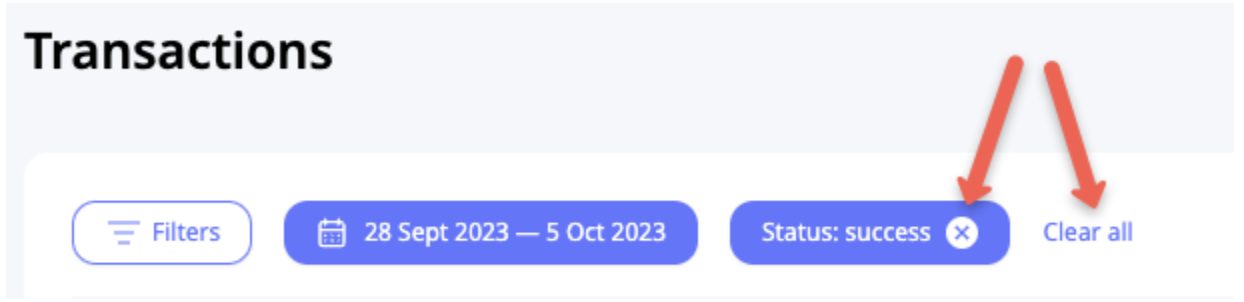
To clear applied filters, click X on the respective applied filter button or click Clear all.
To change the applied filter, click on the respective filter button or Filters, adjust the parameters in the Filters sidebar menu, and then click Apply.
Download CSV
To download a CSV file containing transaction information for a specific period, first apply the desired period to the transactions table, then click Download CSV.
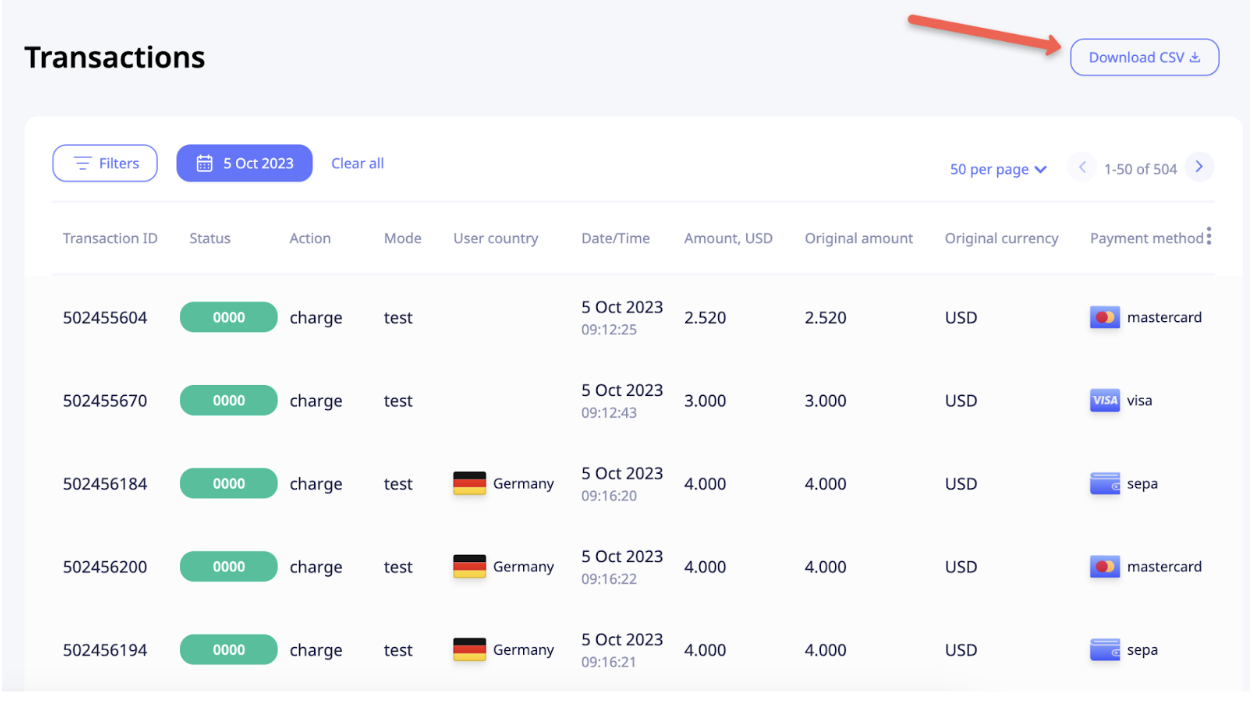
NoteYou can export up to 200,000 transactions per file. For larger reports, split the data into multiple exports.
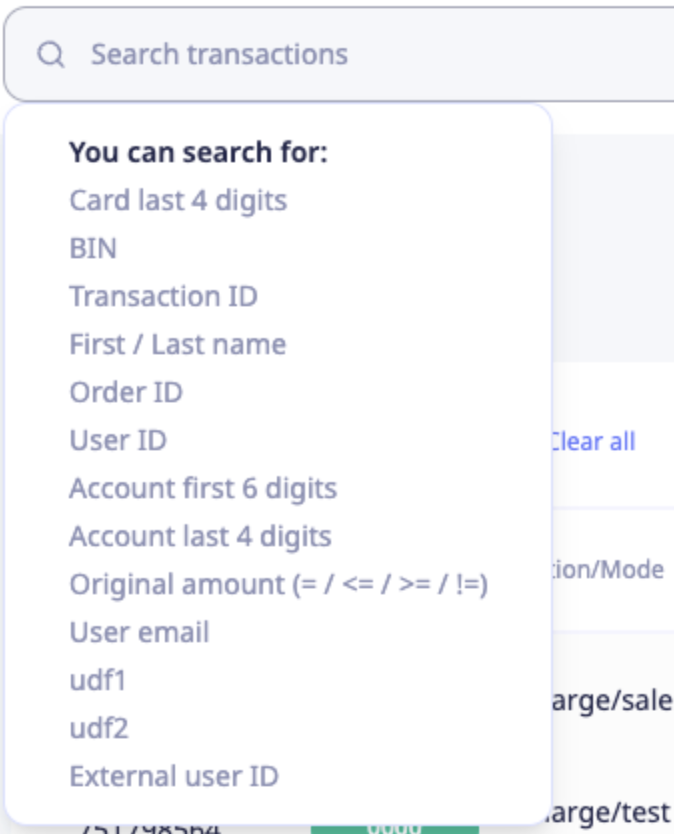
Search
You can perform the search by the following parameters:
- First/Last name
- User email
- Transaction ID
- User ID
- Order ID
- BIN
- Card last 4 digits
- Account first 6 digits
- Account last 4 digits
- Original amount (with condition = / <= / >= / !=)
- UDF1
- UDF2
- External user ID
Enter the desired search word or number and choose the corresponding parameter from the auto-suggestion dropdown. The selected parameter will be highlighted.
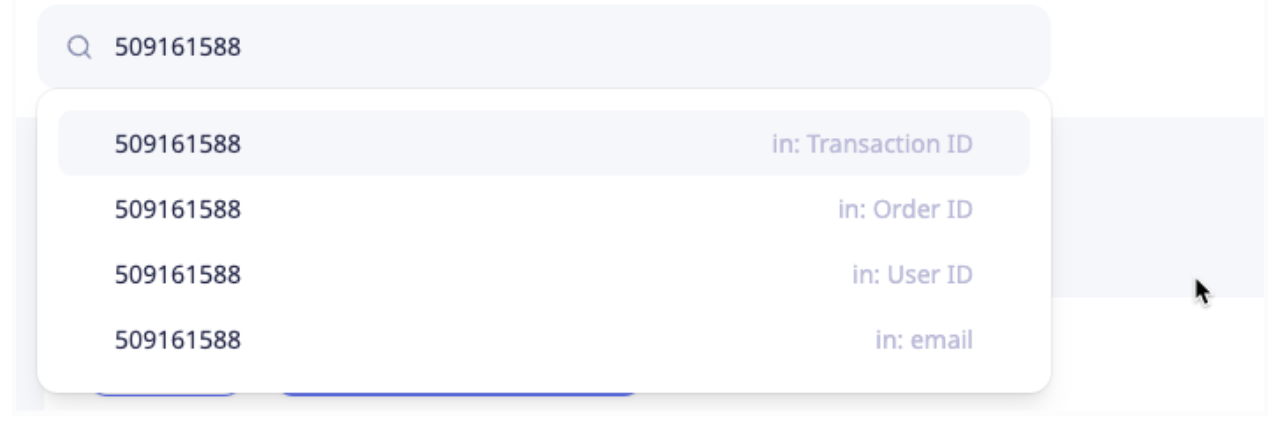
NoteApplying the search request will clear all previously applied filters, including the Date/Time filter.