
Manage API keys
DRAFT. Waiting for the go-ahead to publish
This article explains the API Keys section, where you can manage the keys essential for integrating and performing various operations. It provides an overview of creating, viewing, and managing the status of your API keys.
API keys control access to data and operations.
There are two types of API keys:
Read-only: grants permission to view data without modifying it (cannot modify, create, or delete any data).
Full access: allows full control over data (retrieve, create, update, or delete data).
Both API key types can have two statuses:
Enabled: active and ready for use.
Disabled: inactive and cannot be used for any operations.
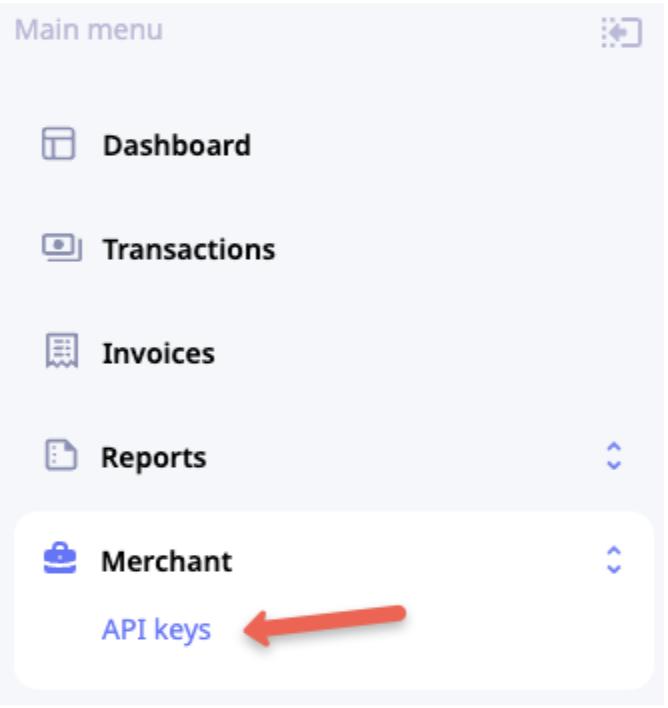
To manage API keys, click Merchant in the Main menu, then click API keys .
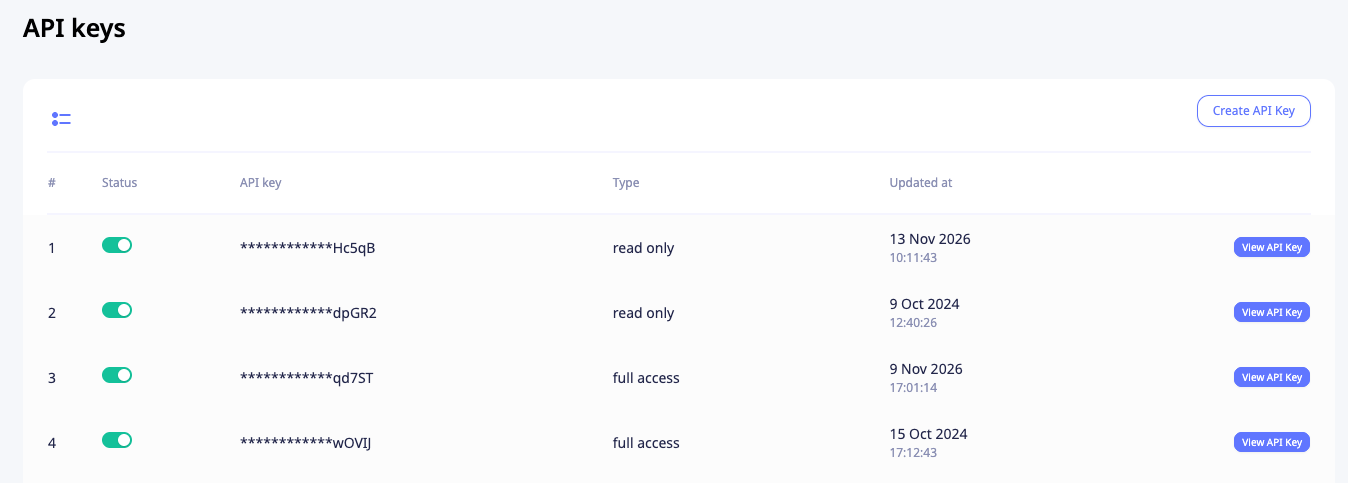
The API keys table shows these columns:
| Column | Description |
|---|---|
| # | The row number |
| Status | Turns the key on or off |
| API key | The key, hidden except for the last 5 characters |
| Type | read only or full access |
| Updated at | The date and time the key was last changed |
Create API key
- Click Merchant in the Main menu, then click API keys .
- The API keys page opens.
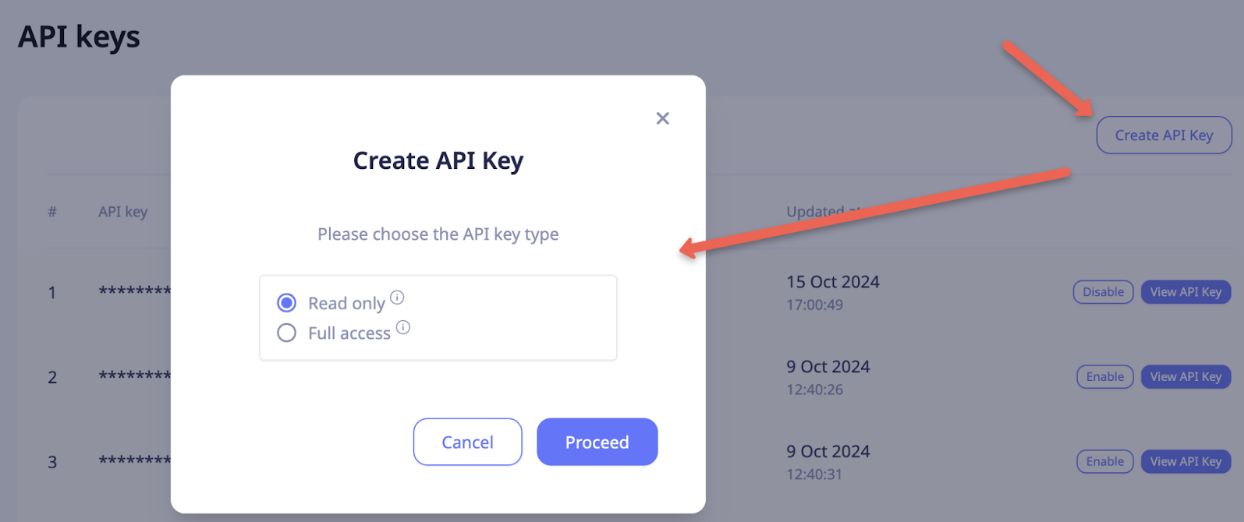
- Click Create API Key.
- Select the key type.
- Click Proceed.
View API key
To view the API key, click View API Key next to the API key in question and proceed through the 2FA verification steps.

Enable/disable API key
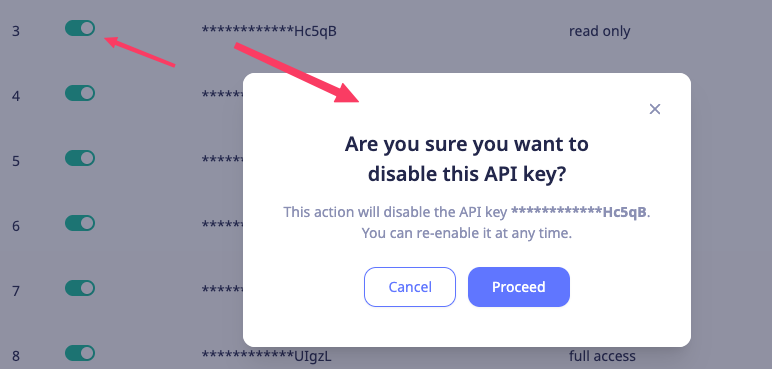
To enable or disable an API key, click the toggle in the Status column.
A confirmation window opens. Click Proceed to confirm, or Cancel to keep the key as it is. Disabled keys can be re-enabled at any time if needed.
To see only enabled keys, click the Show active only icon in the top-left corner of the table. Click it again to show all keys.
Updated 9 days ago